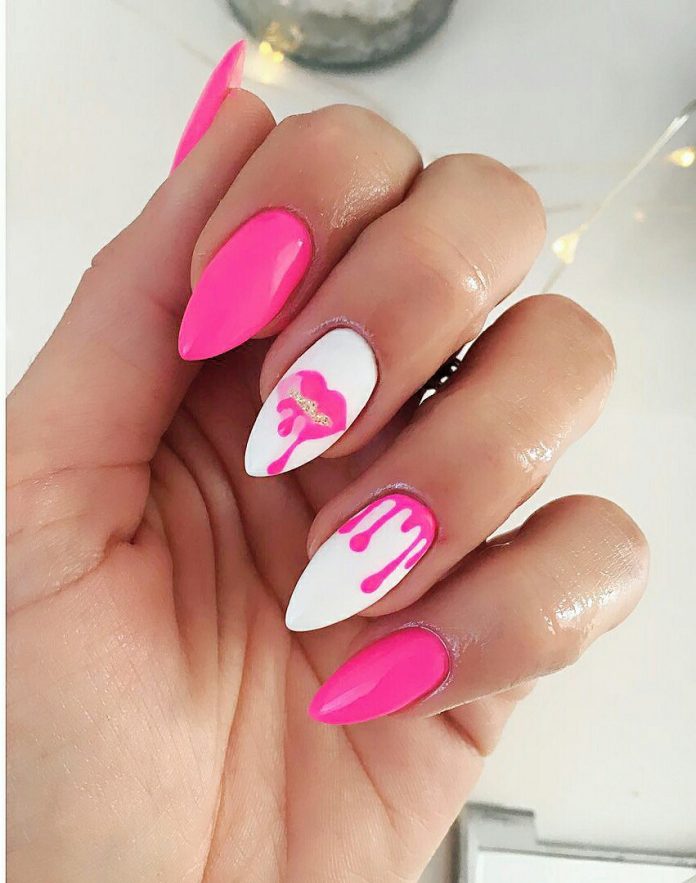
Valentine’S Day Nail Designs
Valentine’S Day Nail Designs - Hey y'all! It's almost that time of year again - Valentine's Day! And what better way to celebrate than by showing off your festive nails? We've rounded up some of the best Valentine's Day nail designs for you to try out. Whether you're spending the day with your boo or just want to treat yourself, these nail designs are sure to make you feel the love. So, grab your favorite nail polish and let's get started!
1. Sweetheart Nails
What You Need:
- Red nail polish
- White nail polish
- Heart-shaped nail stickers
- Topcoat
.jpg)
For this nail design, start by painting your nails with a coat of red nail polish. Once the red polish has dried, place the heart-shaped stickers on your nails. Make sure the stickers are positioned in the center of each nail, and gently press them down to ensure they adhere properly. Next, paint over the stickers with white polish. Once the white polish has dried, gently remove the stickers to reveal the heart-shaped design. Finish with a topcoat to seal the look. These nails are perfect for a romantic date with your significant other.
2. XOXO Nails
What You Need:
- Pink nail polish
- White nail polish
- Small brush or toothpick

For this nail design, start by painting your nails with a coat of pink nail polish. Once the pink polish has dried, use a small brush or toothpick to write "XOXO" on each nail with white nail polish. Don't worry if your writing isn't perfect - the imperfect look is part of the charm! Let the white polish dry, and finish with a topcoat. These nails are oh-so-cute and perfect for a Galentine's Day celebration with your girls.
3. Heart French Tips
What You Need:
- Red nail polish
- White nail polish
- Nail tape or stencil
- Topcoat
For this nail design, start by painting your nails with a coat of white nail polish. Once the white polish has dried, use nail tape or a stencil to create a heart shape at the tip of your nails. Fill in the heart shape with red nail polish, and let it dry completely. Once the red polish has dried, remove the tape or stencil to reveal your heart French tips. Finish with a topcoat to seal the look. These nails are perfect for a fancy night out with your sweetheart.
4. Love Letter Nails
What You Need:
- Light pink nail polish
- Red nail polish
- Small brush or toothpick

For this nail design, start by painting your nails with a coat of light pink nail polish. Once the pink polish has dried, use a small brush or toothpick to write "LOVE" on one nail and "XOXO" on another nail with red nail polish. On the remaining nails, draw small heart shapes with the red polish. Let the design dry completely, and finish with a topcoat. These nails are perfect for showing off your love for Valentine's Day.
5. Glitter Heart Nails
What You Need:
- Red nail polish
- Gold glitter nail polish
- Heart-shaped nail stickers
- Topcoat

For this nail design, start by painting your nails with a coat of red nail polish. Once the red polish has dried, place the heart-shaped stickers on your nails. Paint over the stickers with gold glitter nail polish, and let it dry completely. Once the polish has dried, gently remove the stickers to reveal the heart-shaped design. Finish with a topcoat to make the glitter shine. These nails are perfect for a night out with your girls.
We hope you enjoyed these Valentine's Day nail designs! Whether you're spending the day with your significant other, your gal pals or just treating yourself, these nails are sure to make you feel the love. Happy Valentine's Day!
Find more articles about Valentine’S Day Nail Designs
Post a Comment for "Valentine’S Day Nail Designs"